Walk Thru
Walk Thru
| Amateur Pod Racing Circuit | |
|
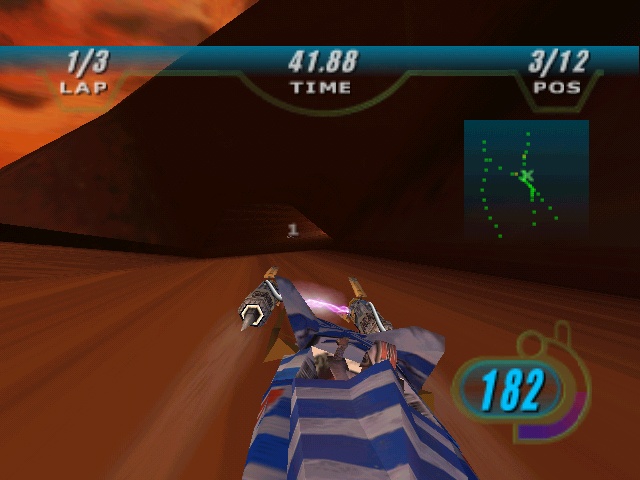
The Boonta Training Course - Tatooine |
|
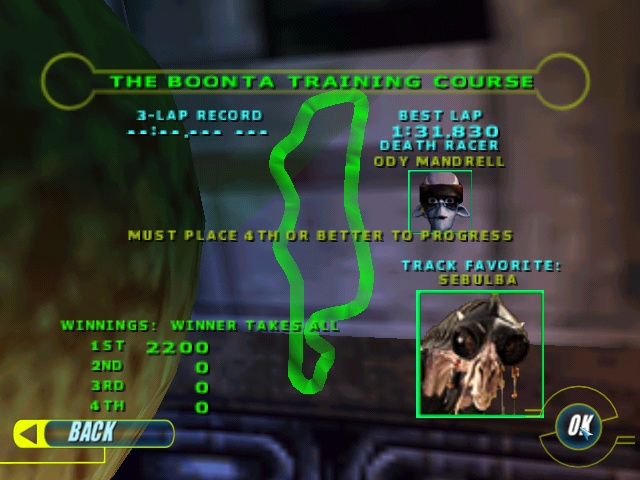
The Boonta Training Course - Tatooine
Obviously, this is an easy course. There are no shortcuts. And really only 2 places where you can incur damage at the back side of the lap where you must remember to line up to fit through a crack in the rock
and once through, avoid the larger boulders on the roadway.
Use this track to learn the technique of using the turbo boost. To boost, hold down the gas and push forward for about 3 seconds. This will build up your little indicator in the bottom right. When it fills completely, you can hit the boost button once. This engages the boost. You can only boost for about 4 or 5 seconds before you get a heat warning. Don't disengage the boost until the heat indicator is almost full (you'll get a noticeably different high beep sound when you are really near critical and your engines will start to smoke). To disengage the boost, let off on the gas real quick, and then step back down on it. =) A few rules to keep in mind about the boost are: while boosting, your racer is much weaker. If you run into another racer, you will most likely blow up. Also, if you run into sharp turns while boosting, even if you are able to make the turn in time, if you brush the wall, you will blow up. Since you can effectively use the boost about 2 or 3 times per lap, be sure you use it in the straight aways or relatively smooth curves.
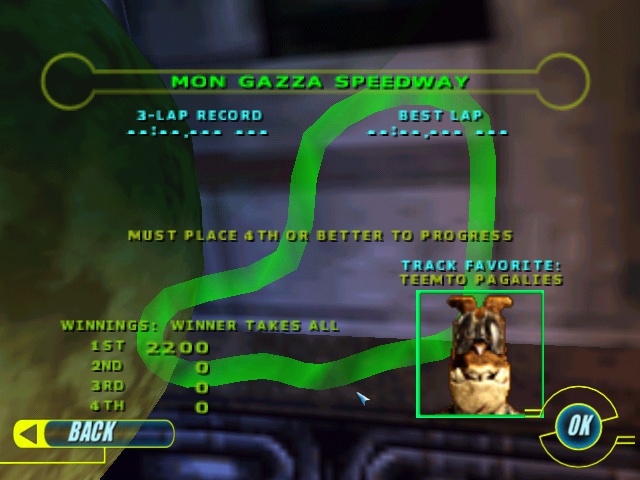
Mon Gazza Speedway - Mon Gazza
Again, another simple course. No shortcuts. There are dividers in 2 places around the lap that you can run into and blow up.
After this race, before you start the next course, stop and buy your pit droids. You get to buy three of these little guys... and they helpa you fixa your pod, you know. =) Other than that, don't buy anything else. You don't need any upgrades yet. Save your money. The time will come soon enough when you will need to upgrade your pod in order to win, and the more money you have when that time comes the better, because it is cheaper to start by buying the best upgrade you can, than to start with what you can afford and then upgrade level by level as you win more money.
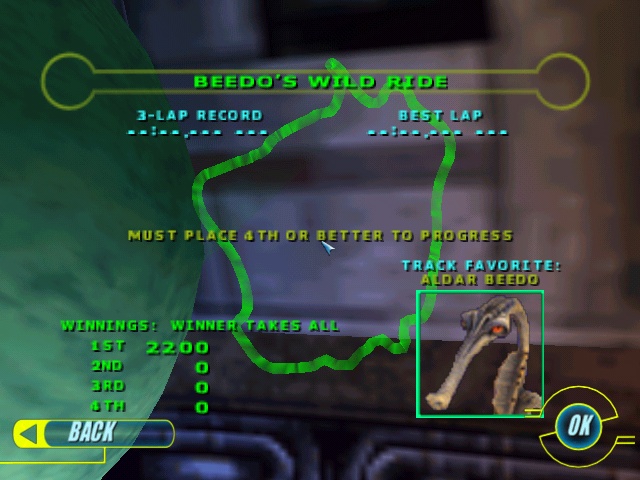
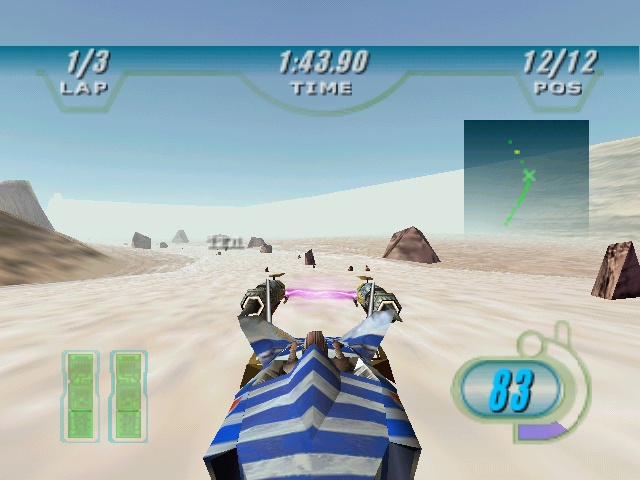
Beedo's Wild Ride - Ando Prime
Ando Prime is my favorite world to race on. I think the ice adds a dynamic, but the ice tracks also usually have multi-level drop offs and jumps that are fun. The course gets a little tougher here... and you have many opportunities to rack up damage on your pod. =) This course has 1 section where you proceed down through 3 ice "stairs", having to navigate through little "doorways" in the ice walls to get down to the next "step". My advice on this one, is to go through the "doorways" for the first 2 "steps", but ignore the doorway on the third one and go off on the open edge on the right of the door.

Doing this puts you in a much better position to make it through the last "door" without crashing. Second, after you proceed through this sequence of ice "steps", you will go through a section marked by flags, and then through a very brief ice cave. Once you come out of this ice cave, take the first opportunity you get to go all the way to the left (out onto the snow).
By staying on the far left, you will find a shortcut. These types of "shortcuts" are fairly easy to spot as they are documented up in the little map window in the upper right of the screen. From this point on out, I recommend you go through each race twice. The first time, let everyone race on ahead of you. Go slow and "explore" the track to find the shortcuts, then (when possible), turn around, back up a little, and then practice hitting the shortcuts at full speed. There comes a point in the game when knowing where the shortcuts are and being practiced enough to hit them will make the difference between you coming in first and you coming in sixth. =)
Lastly, there is a shortcut right at the race's starting point, but it doesn't open up until after you complete one lap. The shortcut is hidden in a tent on the left.
It's a little difficult to hit, and once inside, because it's an ice tunnel, it can be a slightly rough ride on your pod, but by using this shortcut, you will shave between 3 and 5 seconds off your lap time.
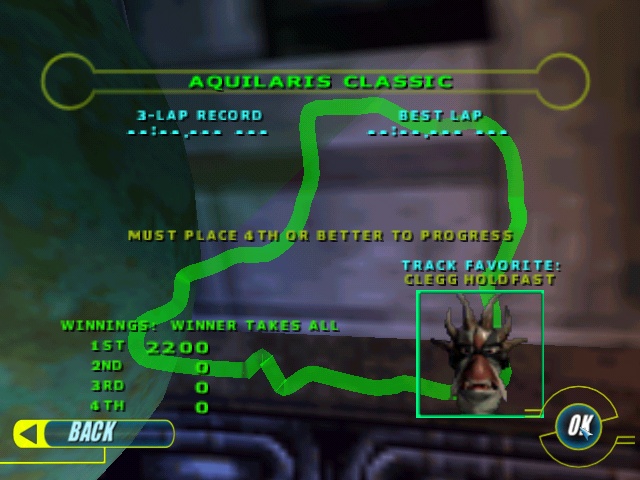
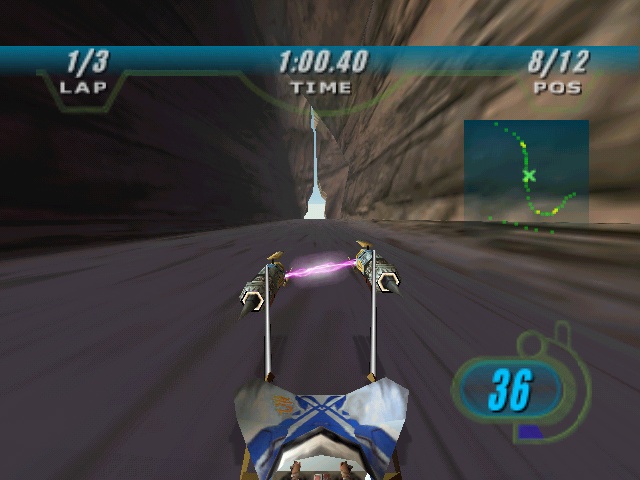
This track is not too difficult. It does make use of lots of narrow tunnels and passageways, though, so I think the idea is to test your precision flying skills while going through a turn. For truly precise flying, while I have tried a number of different joysticks with this game, I still must recommend using the keyboard. While it takes a little while to get used to, the end result is a much steadier ride and less bumps into the walls. On Aquilaris, you also start encountering very sharp turns. Remember in sharp turns to pull your nose up when turning by either pulling back on the joystick or pressing the down arrow. This slows you down a little bit and allows you to make much sharper turns.
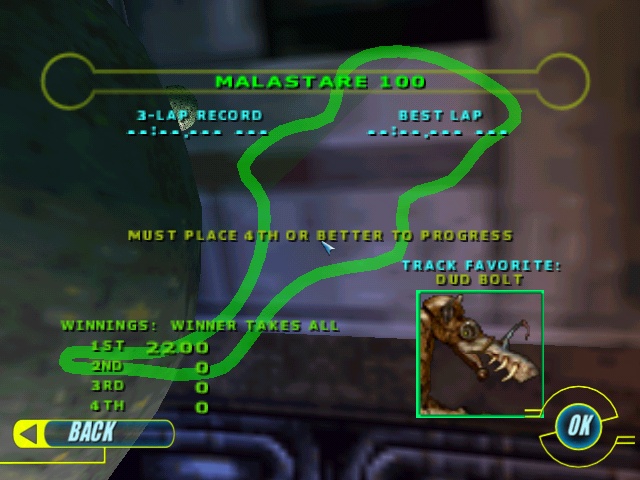
This track does have 1 shortcut... but it's not much of one. After exiting the tunnel containing the 2 jump ramps, you must immediately go to the left. Stay to the left as much as possible because this shortcut does have 2 exit points, the first of which can cost you a second if you use it.
Once through this shortcut area outside, you will encounter the "2 Doors". The first lap through, take the door on the left, then the door on the right. After that, the doors start opening and closing, so don't feel bad if you crash in that area. You've got a 50/50 chance of making it through. =) Your use of the turbo in the straight aways and the shortcut will buy you enough time to afford this crash.
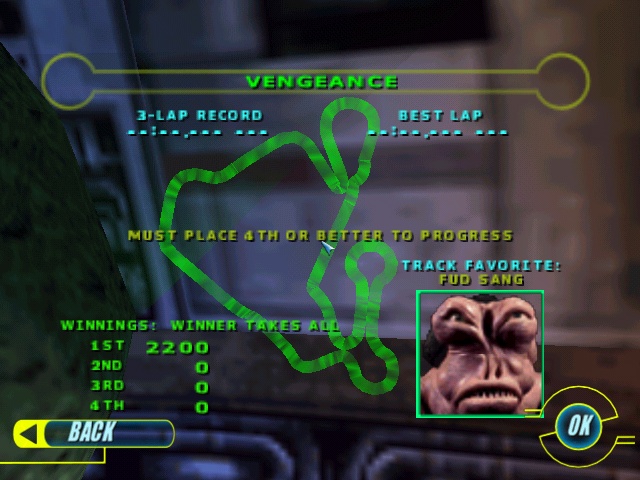
This track is pretty fun. It contains one brief shortcut. After passing through the green fog, you'll go through a couple of lighted turns. The first unlit turn to your left, there will be a service ramp off to your right.
Shortly past that point, you will encounter a set of tunnels that will set you up for the biggest challenge on this track: the big jump.
Take either of the 2 middle lanes, since you need to maintain your max speed through this section in order to make the jump. Preferably take the left center lane, as the jump you are setting up for will be on your right. Immediately past these tunnels, you make a right and approach the "Big Jump".
You cannot successfully cross the big jump without using your turbo (which is why you need to maintain your speed going through the tunnels). As you soon as you make the turn to approach the jump, line up in the center of road as quickly as possible, and then hit your turbo button. Additional lift can be gained once in flight by pulling back on the stick. You can gain enough time in the rest of the lap, however, using your turbos that you can afford to crash every attempt at this jump, and still come in first place. Whatever you do, the first gut reaction to this jump is to go to Watto's shop and buy upgrades. Resist that temptation! =) Since you still do not need upgrades to win.
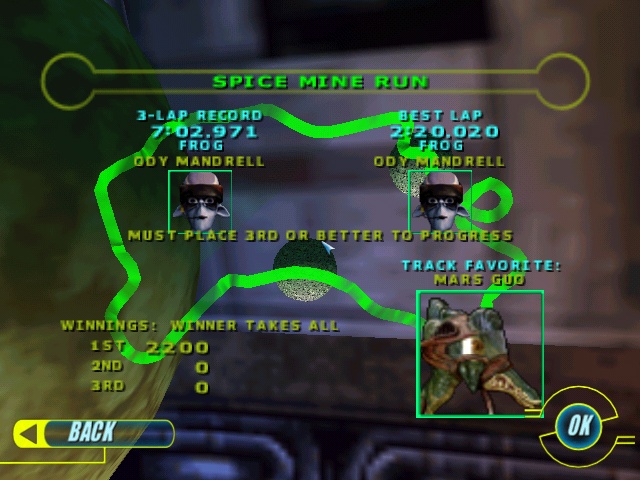
This track is pretty simple and straight forward. No shortcuts. This track does introduce even narrower stretches of track (again, I advocate the keyboard for precision). The unique part about this track is section where you literally fly through the tunnels. The "flight" is really a deception, however. To successfully navigate these sections, I recommend you think in left to right, rather than 3 dimensions. As you go left or right, the whole tunnel will spin. Only use left and right, though, to avoid objects. Long term left or right in this section will eventually smash you against the wall. Pressing the up arrow still renders you your fastest time in this section... and with some practice, this becomes an excellent place to fire your turbos, since you have no walls or sharp turns to worry about. You cannot however, afford to crash very much on this track. Consistent use of your turbos every chance you get around the lap can still yield a first place victory (even with several crashes).
However, this walk thru assumes the use of Anakin, and other racers at this point may need to be upgraded. Go ahead and do it if you fail to place first due to lack of speed after several attempts. The guiding rule to remember with Watto, though, is that Jedi Mind tricks don't work on him... oooonly money. =) So you need to be frugal when doing upgrades. Only upgrade the aspects you feel need to be better in order to win the race you are on... and when you buy the upgrade, buy the most expensive one. Max speed is an obvious upgrade. However, a full upgrade on your cooling would allow your racer to stay in turbo for longer periods, thus offsetting a slower max speed. It's a judgment call.
This track is pretty cool. There is one shortcut to speak of. As the race begins, you are offered a variety of different "directions" to go. Stay to your right as much as possible against the mountain. After passing a couple of jumps and a working machine, you'll pass under several bridges all in a row. After the last bridge, move to the left hand side of the lane, and keep your eyes open to the right.
There will be a tunnel in the side of the mountain that will cut several seconds off your lap. Immediately through the shortcut, you will pass over 2 bridges, then line up for a crow's foot path decision. Take the left path. This provides for the max speed with the least sharp turns.
And that's it for the Amateur round. Congratulations!! You are the fastest pod racer in the galaxy! =)